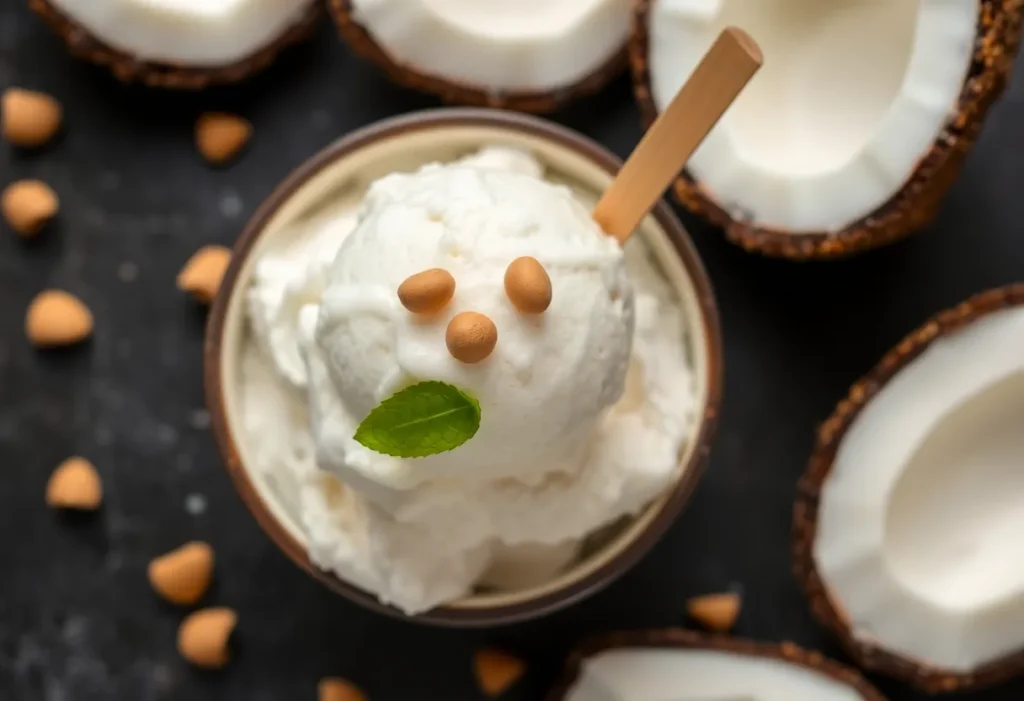
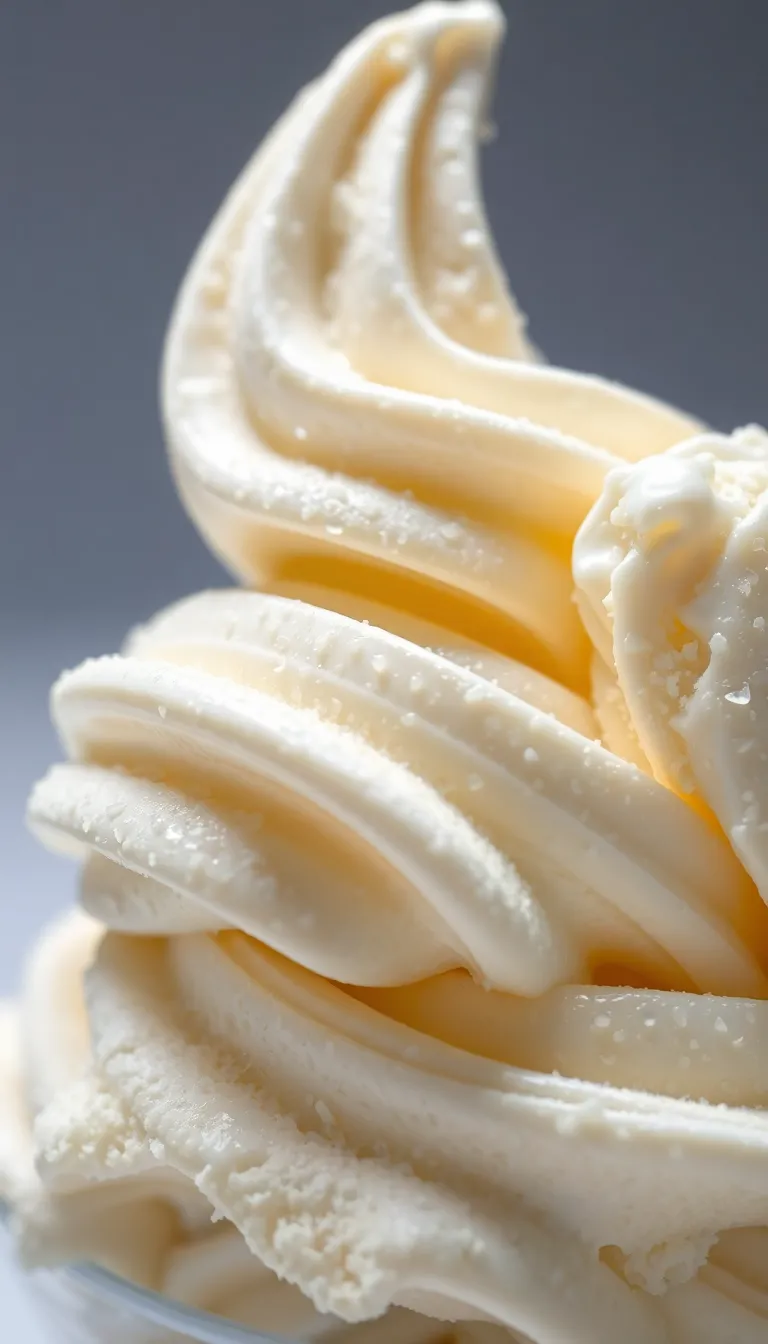
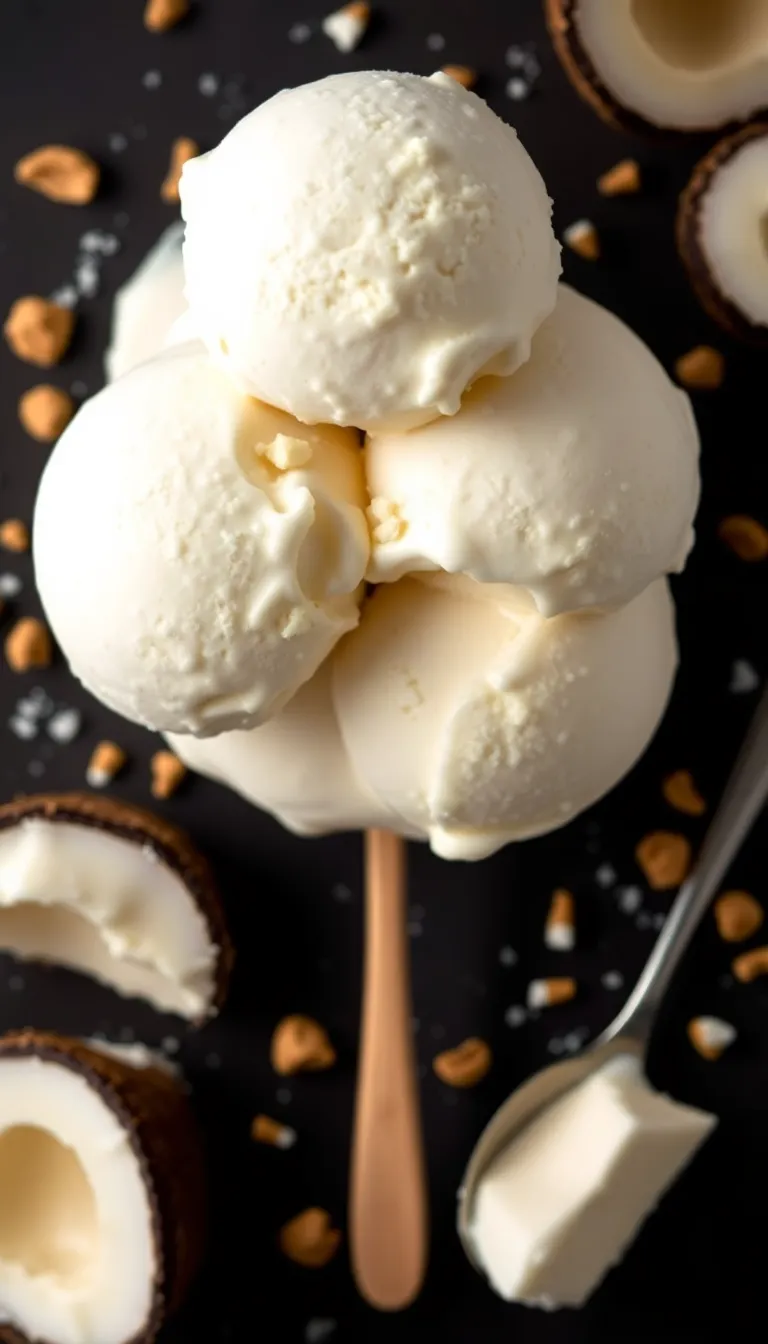
Imagine ice cream so creamy, so decadent, it’s hard to believe it’s dairy-free. Coconut milk ice cream isn’t just for vegans—it’s for anyone who loves dessert without the guilt (or the lactose-induced regret). No weird aftertaste, no chalky texture, just pure, spoon-licking goodness.
And the best part? You can make it at home with zero fancy equipment. If you’ve ever wasted $8 on a sad pint of “healthy” ice cream, this recipe is your redemption.
Ready to upgrade your freezer game?
Table of Contents
Why This Recipe Slaps
This isn’t just another sad attempt at dairy-free dessert. Coconut milk brings a rich, velvety texture that rivals heavy cream, and it pairs perfectly with sweeteners like maple syrup or honey. The fat content in coconut milk means no icy crystals—just smooth, scoopable perfection.
Plus, it’s endlessly customizable. Want chocolate? Add cocoa.
Crave cookies? Crush ’em in. This recipe is the blank canvas of your dessert dreams.
Ingredients You’ll Need
- 2 cans full-fat coconut milk (don’t skimp—light coconut milk is a one-way ticket to sadness)
- 1/3 cup maple syrup or honey (adjust to taste, but don’t pretend you like unsweetened ice cream)
- 1 tsp vanilla extract (or 2 tsp if you’re feeling extra)
- Pinch of salt (because even dessert needs balance)
- Optional add-ins: cocoa powder, fruit puree, crushed cookies, or booze (for the adults)
How to Make It: A Foolproof Listicle
- Chill the cans of coconut milk overnight.
This separates the cream from the liquid, giving you maximum richness.
- Scoop out the solid coconut cream into a bowl. Save the liquid for smoothies or just drink it—we don’t judge.
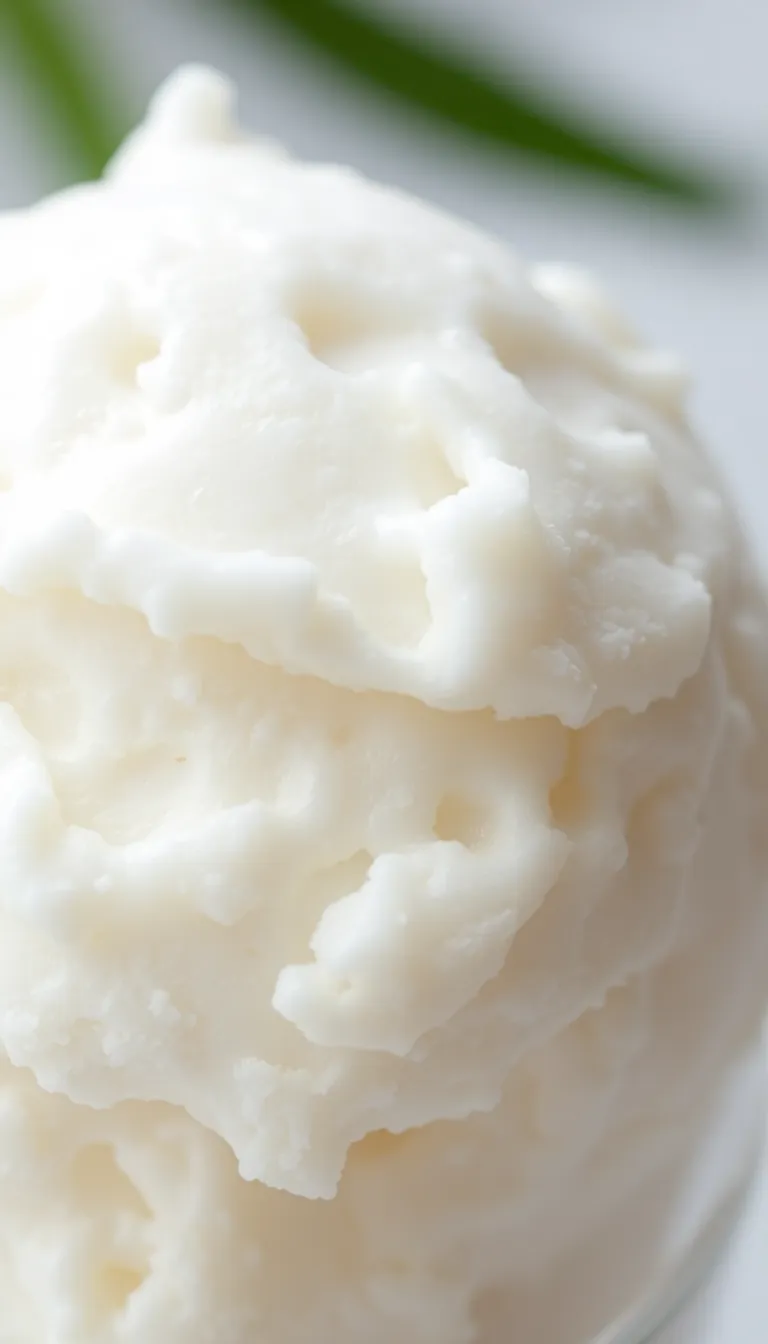
- Whip the cream with a hand mixer until fluffy. If you’re doing this by hand, good luck and may the arm gains be worth it.
- Add sweetener, vanilla, and salt. Mix until smooth.
Taste it. Adjust. Repeat until it’s perfect.
- Fold in your add-ins. Chocolate chips?
Berries? Crushed Oreos? Go wild.
- Freeze for 4–6 hours. Yes, waiting is the hardest part.
Distract yourself.
Storage Tips to Keep It Perfect
Store your ice cream in an airtight container with parchment paper pressed against the surface to prevent freezer burn. It’ll keep for up to 2 weeks—if it lasts that long. Pro tip: Let it sit at room temperature for 5 minutes before scooping.
Unless you enjoy chiseling your dessert.
Why This Recipe Is a Game-Changer

Dairy-free doesn’t mean flavor-free. Coconut milk is packed with healthy fats, and unlike store-bought vegan ice creams, you control the sugar. It’s also naturally gluten-free and paleo-friendly.
Plus, no weird stabilizers or unpronounceable ingredients. Just real food that tastes like a cheat meal.
Common Mistakes (And How to Avoid Them)
- Using low-fat coconut milk: This isn’t the time to cut corners. Full-fat or bust.
- Skipping the chill step: Without cold separation, your ice cream will be watery.
Patience, grasshopper.
- Overloading add-ins: Too many mix-ins = crumbly mess. Moderation is key (even in dessert).
Alternatives for the Adventurous
Not into coconut? Try cashew milk for a milder flavor, or avocado for a creamy, green twist.
Swap maple syrup for dates if you’re sugar-free, or use protein powder to turn this into a post-workout treat. The world is your oyster—weirdly, oyster ice cream isn’t recommended.
FAQs
Can I use coconut cream instead of coconut milk?
Absolutely. Coconut cream is even richer, so you’ll get a denser texture.
Just thin it with a splash of water if needed.
Why is my ice cream too hard?
You overfroze it or didn’t whip the cream enough. Next time, add a tablespoon of vodka (it lowers the freezing point) or blend in a banana for creaminess.
Can I make this without an ice cream maker?
Yes! This recipe doesn’t require one.
Just whip, freeze, and stir once halfway if you’re feeling fancy.
Final Thoughts
Coconut milk ice cream isn’t just a consolation prize for the dairy-averse—it’s a legit upgrade. Creamy, customizable, and stupidly easy to make, it’s the dessert hack you didn’t know you needed. So ditch the overpriced store-bought stuff and make your own.
Your taste buds (and wallet) will thank you.